- Published on
Setting Up a Local Sitecore XM Cloud Environment
Introduction
I wanted to spin up a Sitecore XM Cloud local environment to play around with a few things. There are plenty of guides on this topic. But as is often the case with how-to guides, there were subtle nuances to my particular setup that were not mentioned in the guide that I followed. I followed this guide, and thought I would share the steps to install Sitecore XM Cloud locally and some of the issues that I ran into along the way with my environment setup.
The Tech
- Hosted on a Windows 11 22H2 Pro Hyper-V Virtual Machine
- Docker version 4.33.1 (the article I mentioned earlier recommends version 4.11.1 but it appears that that version is no longer available for download)
- DotNet 6 SDK
- .NET Framework 4.8 runtime
Nested Virtualization on a Virtual Machine
One of the first problems that I ran into was enabling Hyper-V services on my virtual machine. Docker requires Hyper-V services to be enabled. Hyper-V services on a virtual machine, or "nested virtualization", is not enabled by default. You will need to turn off your virtual machine and run the following powershell command on your host machine:
Set-VMProcessor -VMName "<name of your virtual machine>" -ExposeVirtualizationExtensions $true
Start your Virtual Machine back up, and you should be able to enable nested virtualization.

And with this, you should now be able to install Docker.
Prereqs
If applicable, make sure that you stop iis:
iisreset /stop
Also, stop Solr via the Services window if Solr is running.
Docker Issues
After installing Docker, you must switch to Windows containers. With my setup, I ran into an issue with running the Privileged helper service. This seems to be a service that Docker utilizes to access privileged parts of Windows:

Go ahead and start up the service by clicking on the Start service button in the error window. You should then see the following error releated to Windows containers not being enabled:

You will need to run the following command on your virtual machine:
Enable-WindowsOptionalFeature -Online -FeatureName $("Microsoft-Hyper-V", "Containers") -All

Restart your machine and you should be able to run the Docker engine successfully.
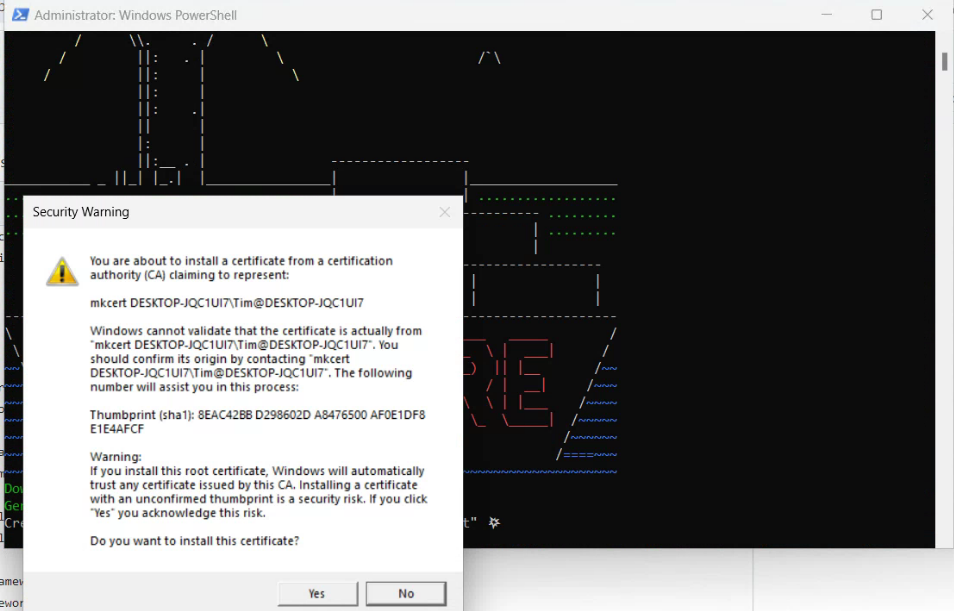
Installing the XM Starter Kit
You will need a valid Sitecore XM Cloud license file to proceed further. Pull down the XM Starter Kit project on GitHub.
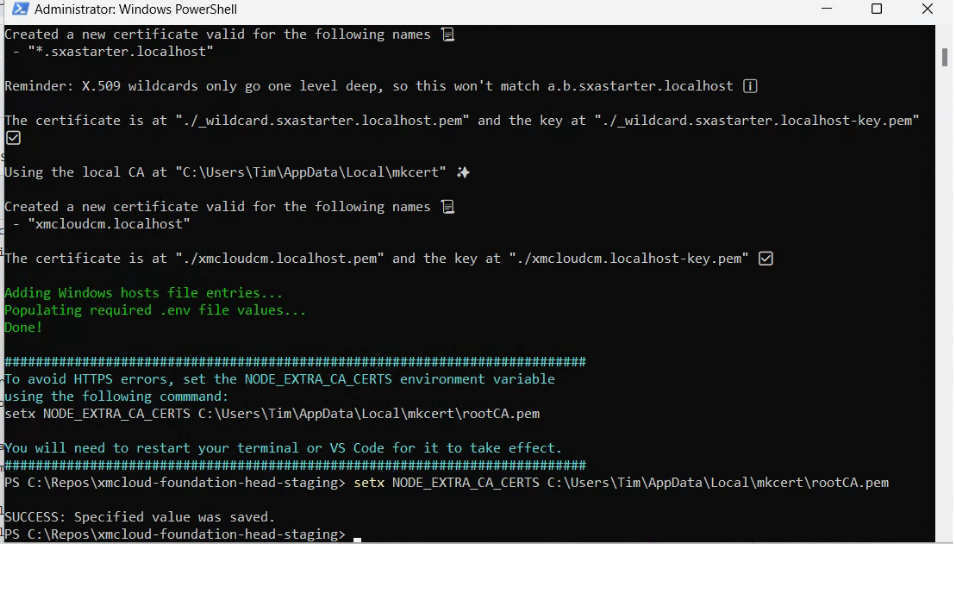
In the starter kit project folder, run the following command:
.\init.ps1 -InitEnv -LicenseXmlPath "C:\<path to valid Sitecore license>\license.xml" -AdminPassword "<password of your choice>"
You should see the installation process kick-off:

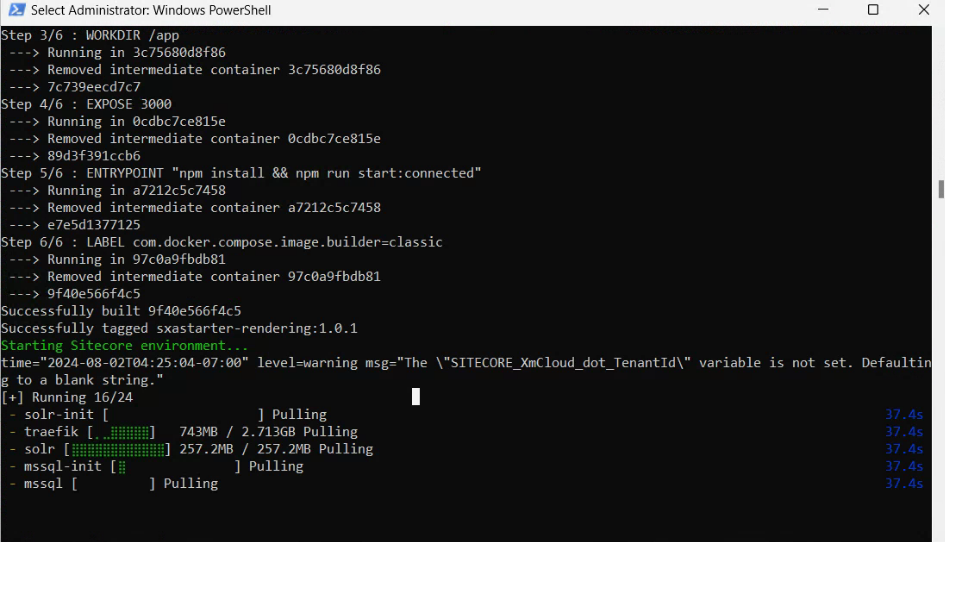
When the installation is complete, run the following powershell command in the project directory to start the Docker containers:
.\up.ps1

If successful, you should see the Device Confirmation screen:

Create an account if needed using the Sign Up button at the bottom.

Return back to your PowerShell window:

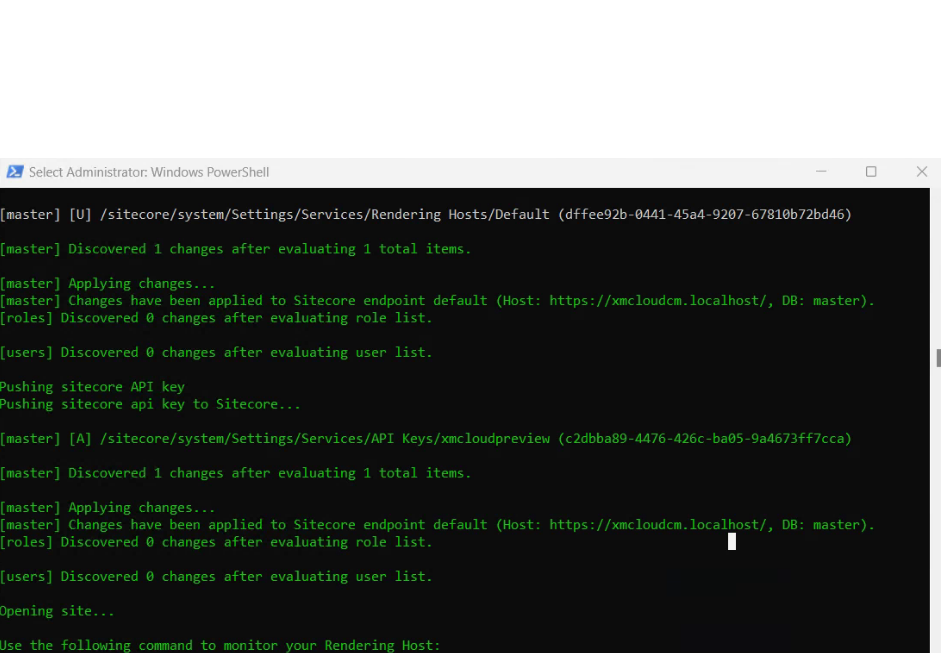
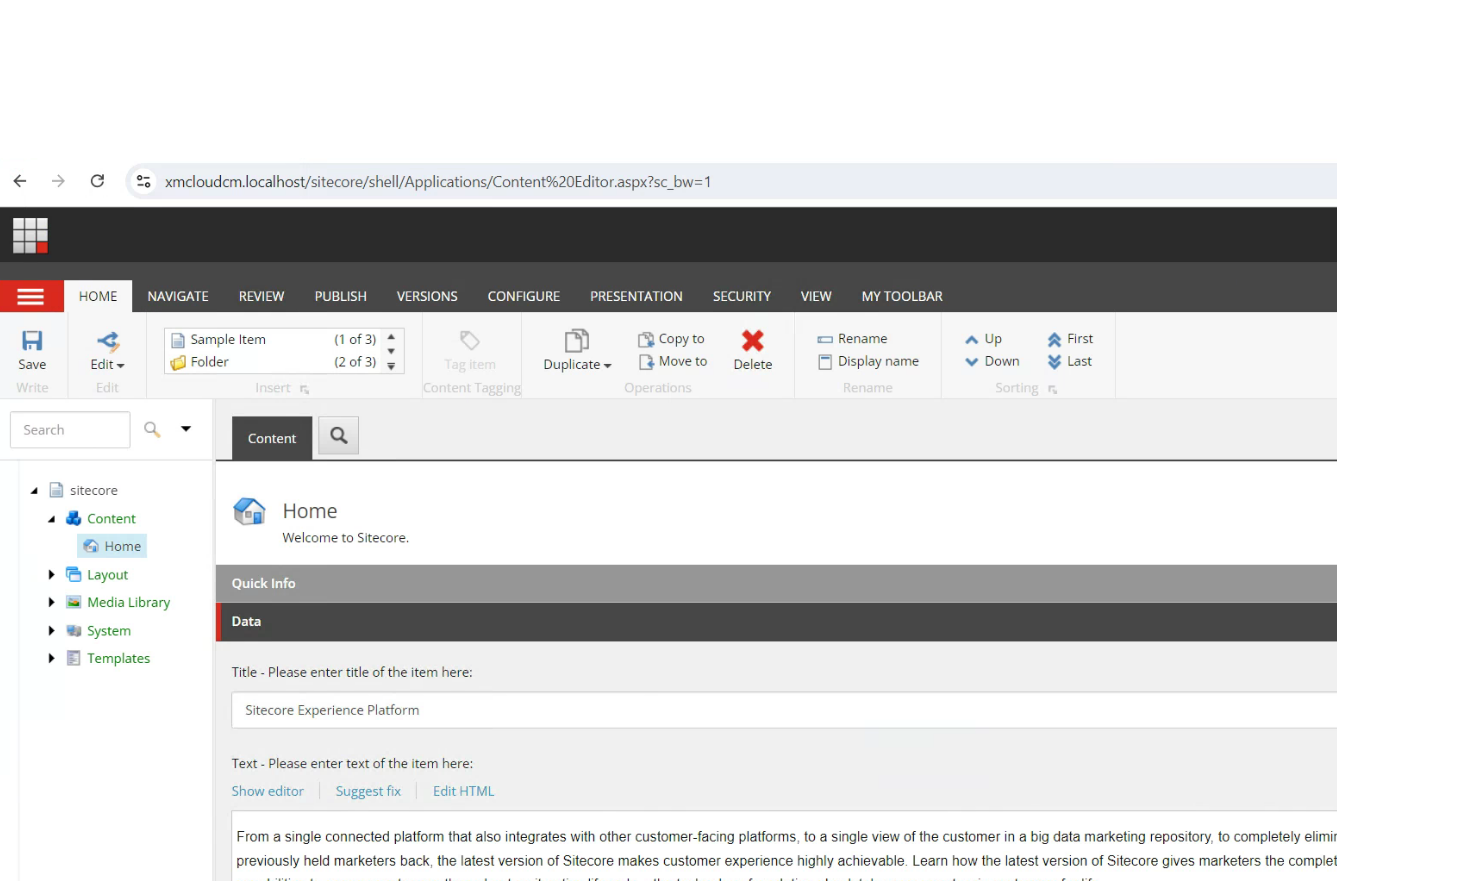
If all goes well, you should see the Sitecore dashboard open in your browser:

Conclusion
That's it! You should have a running Sitecore XM Cloud local environment. Next time, I hope to add further details around serializing XM Cloud to your local environment. Thanks for reading!