- Published on
Installing Sitecore version 10.4
Introduction
While working on a client engagement with Sitecore XP 10.2.1 I was tasked with upgrading to the latest version of Sitecore, which at the time of writing this is version 10.4. The first step in upgrading to Sitecore 10.4 is to install Sitecore 10.4.
There are numerous guides on installing any version of Sitecore, like this one that I followed to complete my first installation of Sitecore 10.4. You may, however, run into issues specific to your setup, that may not be covered in the installation guide that you follow. I'm hoping to cover a couple of issues that you may run into in this article. Let's get into it!
The Tech
- Windows Server 2022 Datacenter - this was the OS that was provisioned for me, but obviously other Windows OS should work fine
- SQL Server 2022 Developer Edition and SSMS - any version 2017 and up should suffice
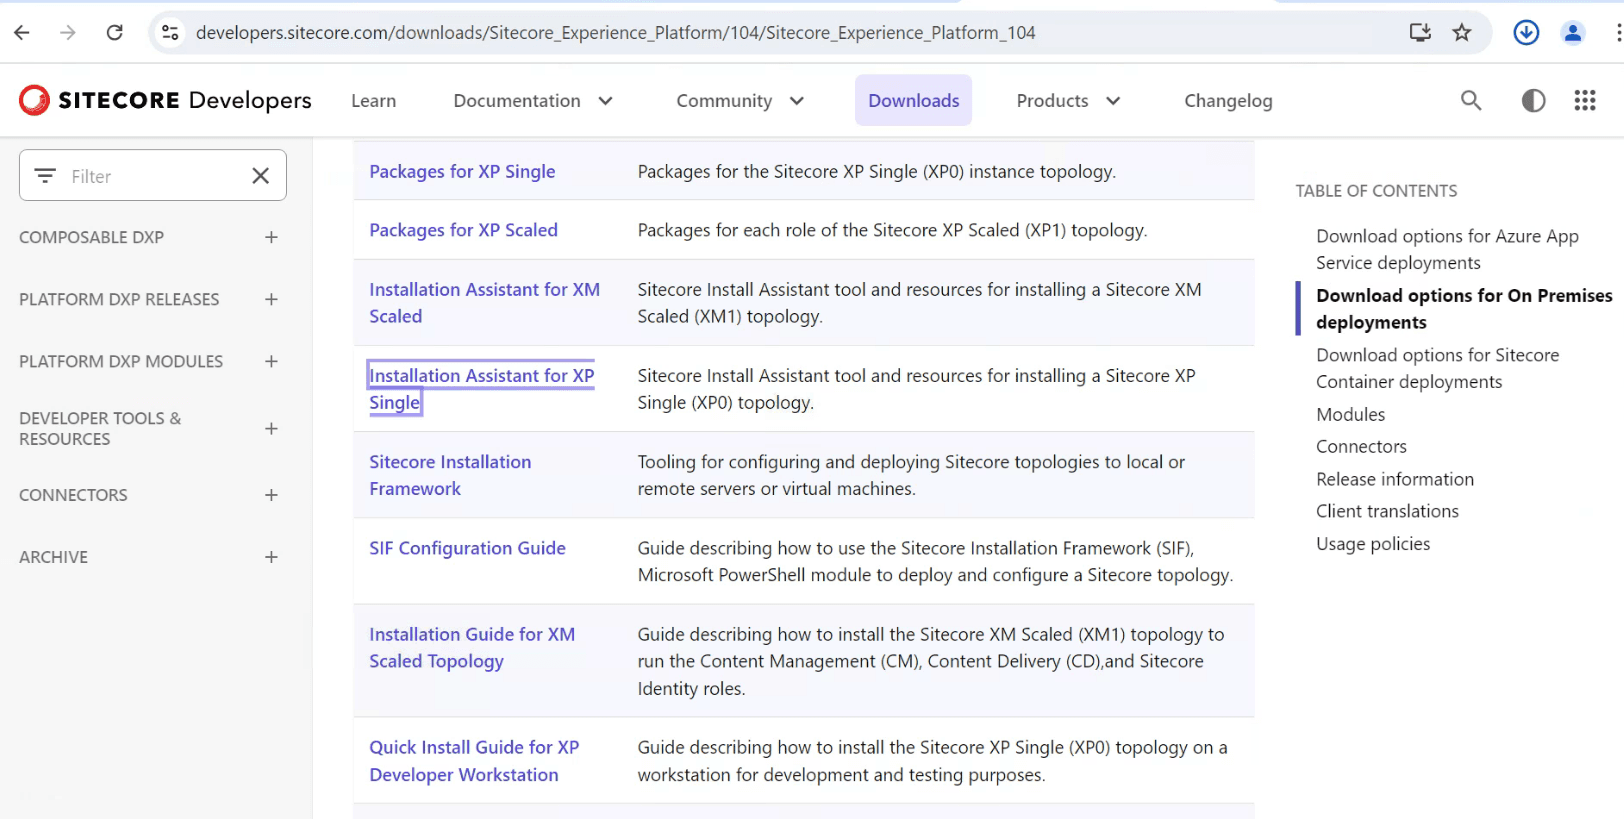
- Installation Assistant for XP Single
Installing SQL Server and validating the sa account via SSMS
For the most part, you want to keep the default options. For the feature selection step, check Database Engine Services. Nothing more, nothing less.

Now, we want to make sure that the sa account works because the Sitecore Installation Assistant will use the sa account to create new databases for our Sitecore install. Try to connect to your local database using the sa account. If you kept the default options for your SQL install, you should be able to connect with server name localhost.
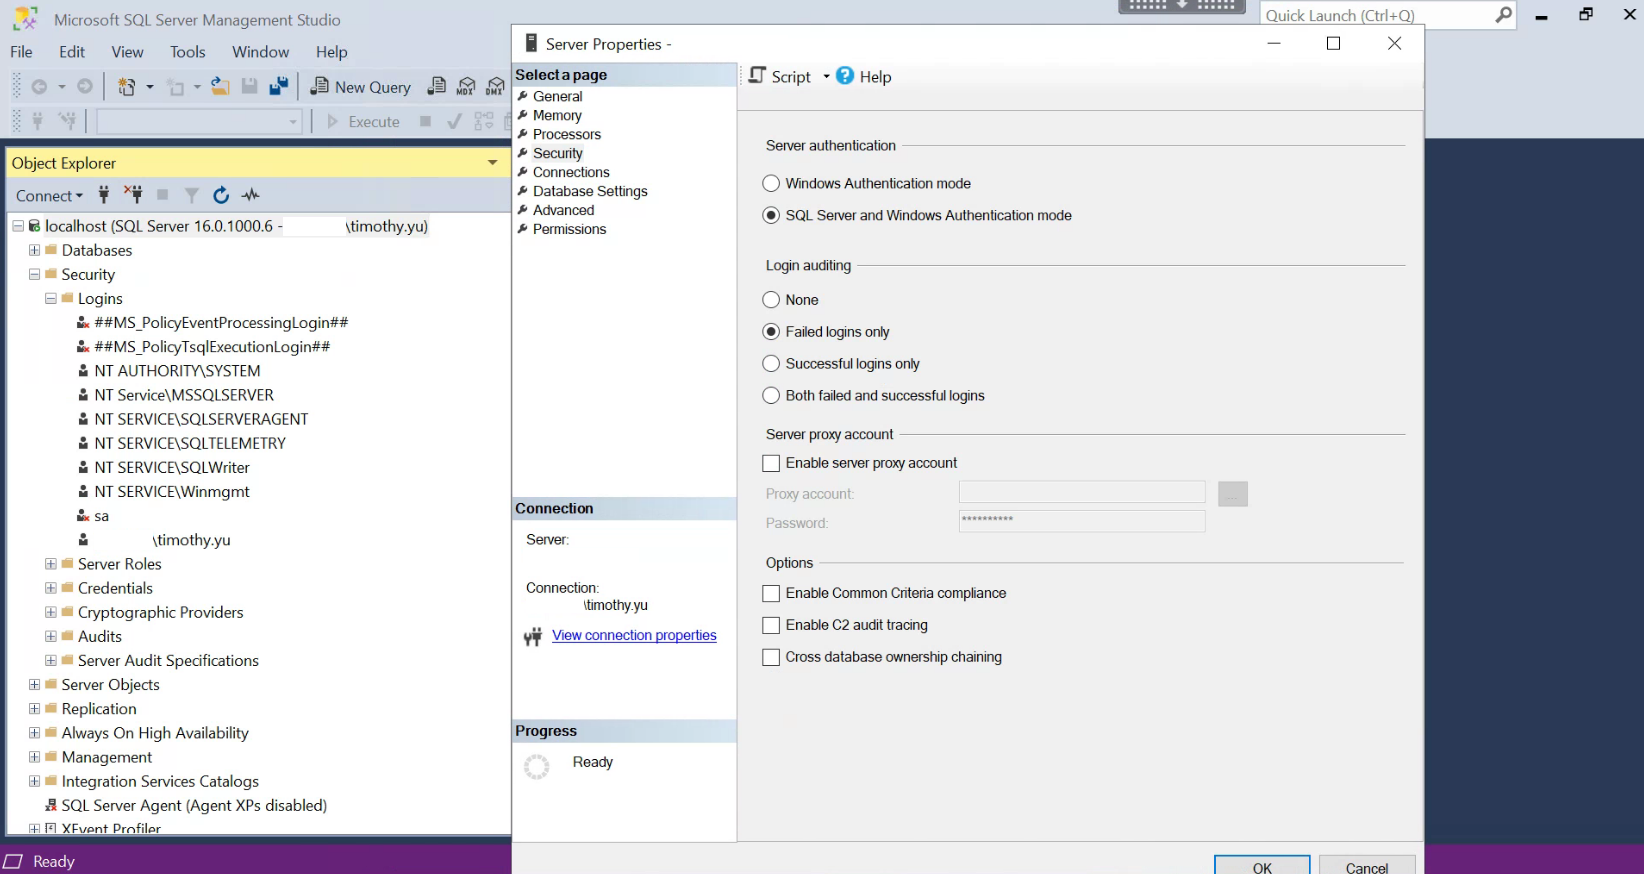
If you run into the issue below, you will need to first connect using Windows Authentication and enable mixed mode authentication. Right-click on your local server in SSMS Object Explorer and click properties to get to the Server properties in the screenshot below. Make sure to restart the SQL Server service after this step!

After restarting SQL Server, finish configuring the sa account. Right-click the sa account in SSMS Object Explorer, and click properties. Give it a password that you will remember, you will need to provide this password for the Sitecore Installation Assistant later.
On the status page, make sure to grant permission to connect to the database engine and enable login:

Now validate the connection to your local SQL Server using the sa account.
Installing Sitecore 10.4 Using Installation Assistant
Unpack the zip file for the Sitecore Installation Assistant for XP Single, and run the setup application.

Proceed with installing the prerequisites:

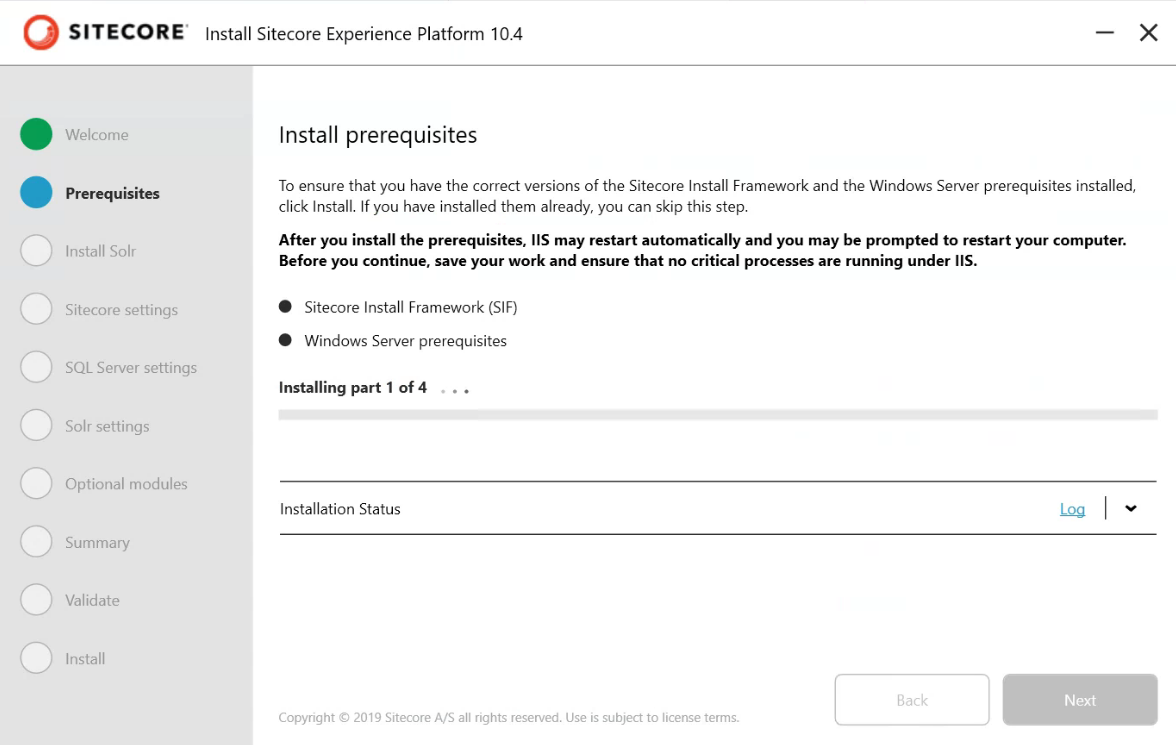
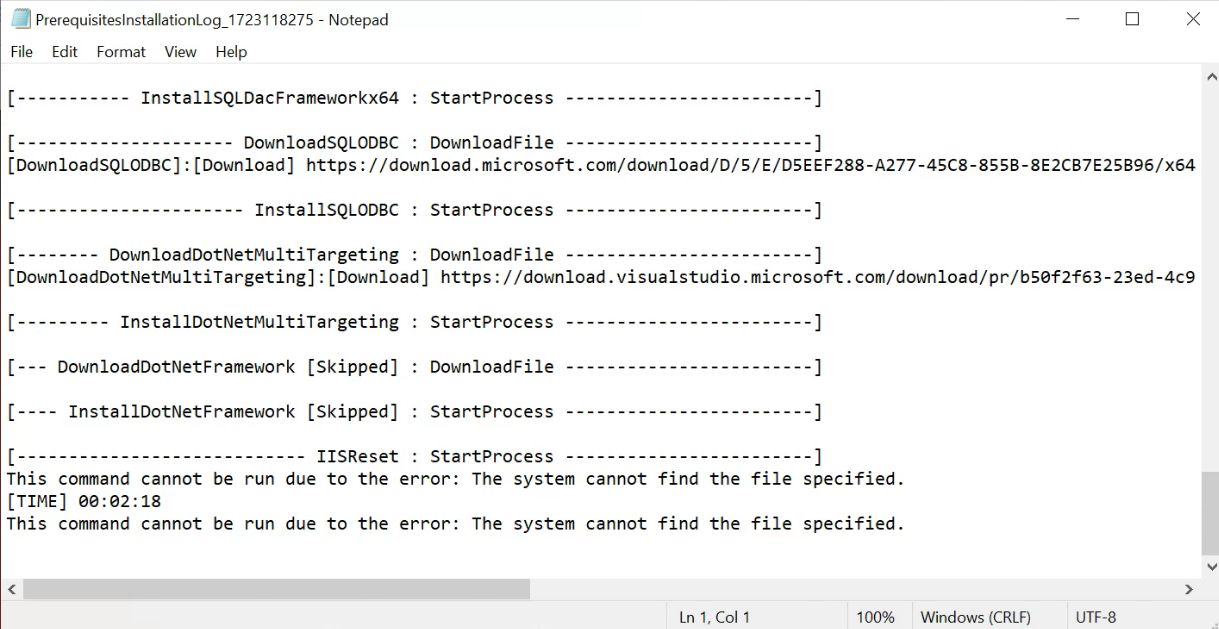
If you run into the error below, you will need to restart your machine to enable IIS if it has not been enabled on your machine as a feature yet. The Installation Assistant will enable IIS for you, but you will need to restart your machine and rerun the installation tool.

For the Solr and SQL server settings:
- For the Solr installation step, install Solr if you do not already have it installed. Keep the port number and give it a path/path prefix
- For the Microsoft SQL Server settings step, provide your local server name and sa credentials and proceed.
- For the Solr settings step, provide valid solr path/url and service name.
Optionally, for the SXA step, check the box if you need SXA. I did not, so I left this unchecked.

Proceed to the Summary and Validation pages and validate that all values are correct. Once validated, proceed to the installation step.

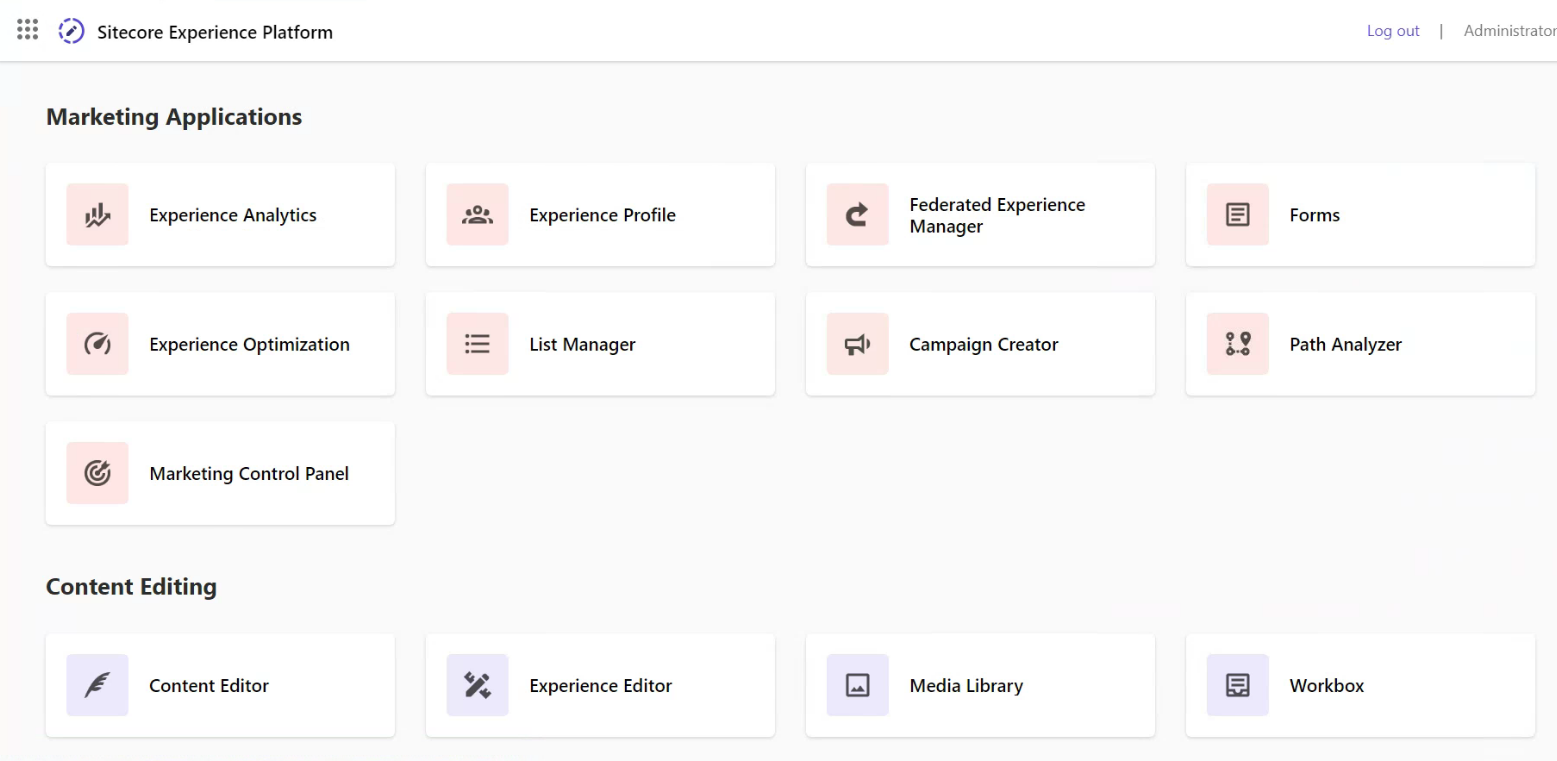
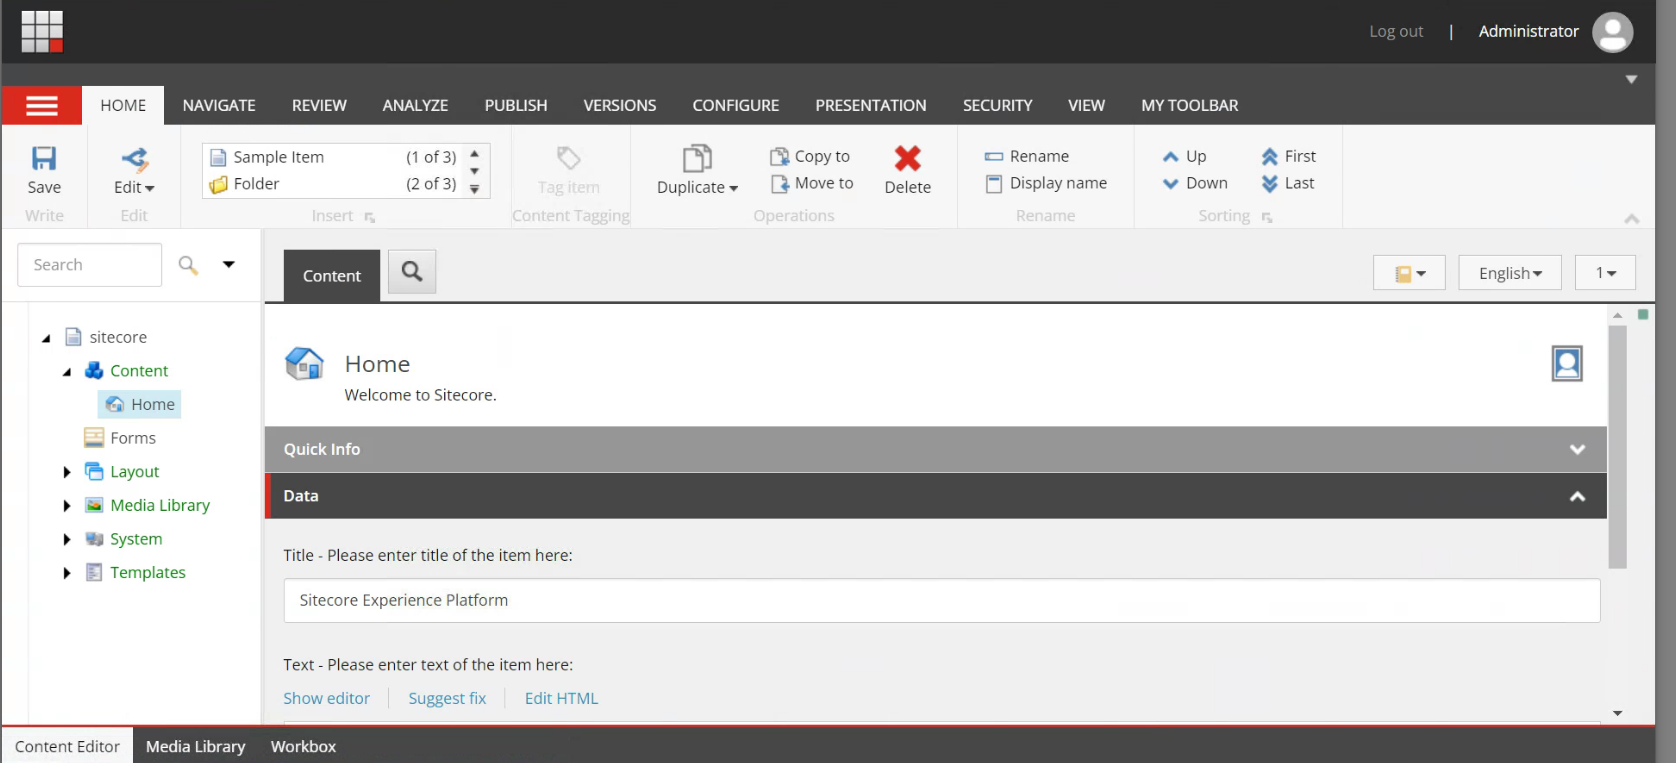
If your installation finishes without any issues, you will be able to navigate to your new Sitecore 10.4 instance.

Conclusion
Hopefully this has been helpful for expediting your own Sitecore 10.4 installation. In the future, I will be looking to create a follow-up article about upgrading from Sitecore 10.x to 10.4. Thanks for reading!